Monday, May 30, 2011

Sweet and Simple

So for our end-of-the-year gift for my oldest's teacher we made cute lollipop bouquets.  Super easy!!!  All we did is punch holes in die cut paper flowers and put them on the lollipop sticks.  Then I taped those to empty fake flower stems and bunched them together, wrapped it with tissue paper and cellophane, and walla! you have a sweet (literally) gift for teacher.


If you don't want the lollipop wrapper to show you can just cover them with some tissue paper.

I found that taping the end of the wrapper to the stick helped make it easier for my son to put the paper flowers on the stick.  And of course you can always make the flowers and lollipops coordinate better than I did.

So there you have it!  And I also will accept these for mother's day (hint hint kids)

Monday, May 23, 2011

I Bequeath: Wreath

“As from a large heap of flowers many garlands and wreaths are made, so by a mortal in this life there is much good work to be done.”- Buddah
What can you really say about a wreath?  It is probably one of the most boring words and brings images of Michaels (which my husband will utterly shutter about).  But this wreath idea was given to me by a lady at my church (who has waaaay better taste than me) and I thought it so cute I had to spend all week ripping fabric and burning the skin off my fingers just to hang it on my door and force exclamations of congratulations from my dearest who probably would never have noticed it was on the door in the first place if I didn't point it out to him.  So here it is:
So it took a lot more time than I thought- but the good part was that I could do most of it with the kids running around.  It is a pretty simple concept too:  rip 1-2" strips of fabric and braid them, then hot glue them in coils, then hot glue/ wire to a wreath and there ya go.  I painted a letter with paint first and then some pearl paint then tied it to the top and for a little extra I added some netting where the "flowers" are before I wired the coils to the wreath.  I am pretty clumsy so that's why I kept burning my fingers with the hot glue and I also stabbed myself with the large needle I was using to thread the wire through the wreath and for these reasons it will stay on my door at least a year.  But it was all worth it!

Friday, May 20, 2011

Lego Birthday

My oldest is really into LEGOs and wants to do a LEGO themed birthday.  I couldn't find any LEGO themed invitations so I decided to make my own.  My husband figured out you can take screenshots from the LEGO build your own program and it saves those images as a png which is perfect for PSE!  You can build your own guy and then use it to create your own card, postcard, or whatever.

 Here is a LEGO guy I created and saved.  You can even take shots of LEGO pieces for some background.


 And here is the card I created.  Super easy and super fun!

Sunday, May 8, 2011

Robot birthday

So for my baby's first birthday I went with a robot theme because what's cuter than that?

I cut a pattern with my cricut and then used that to cut his name is some thin craft metal.  Then I added some metal embellishments

This is a 3D robot for the banner from the Robotz cartridge
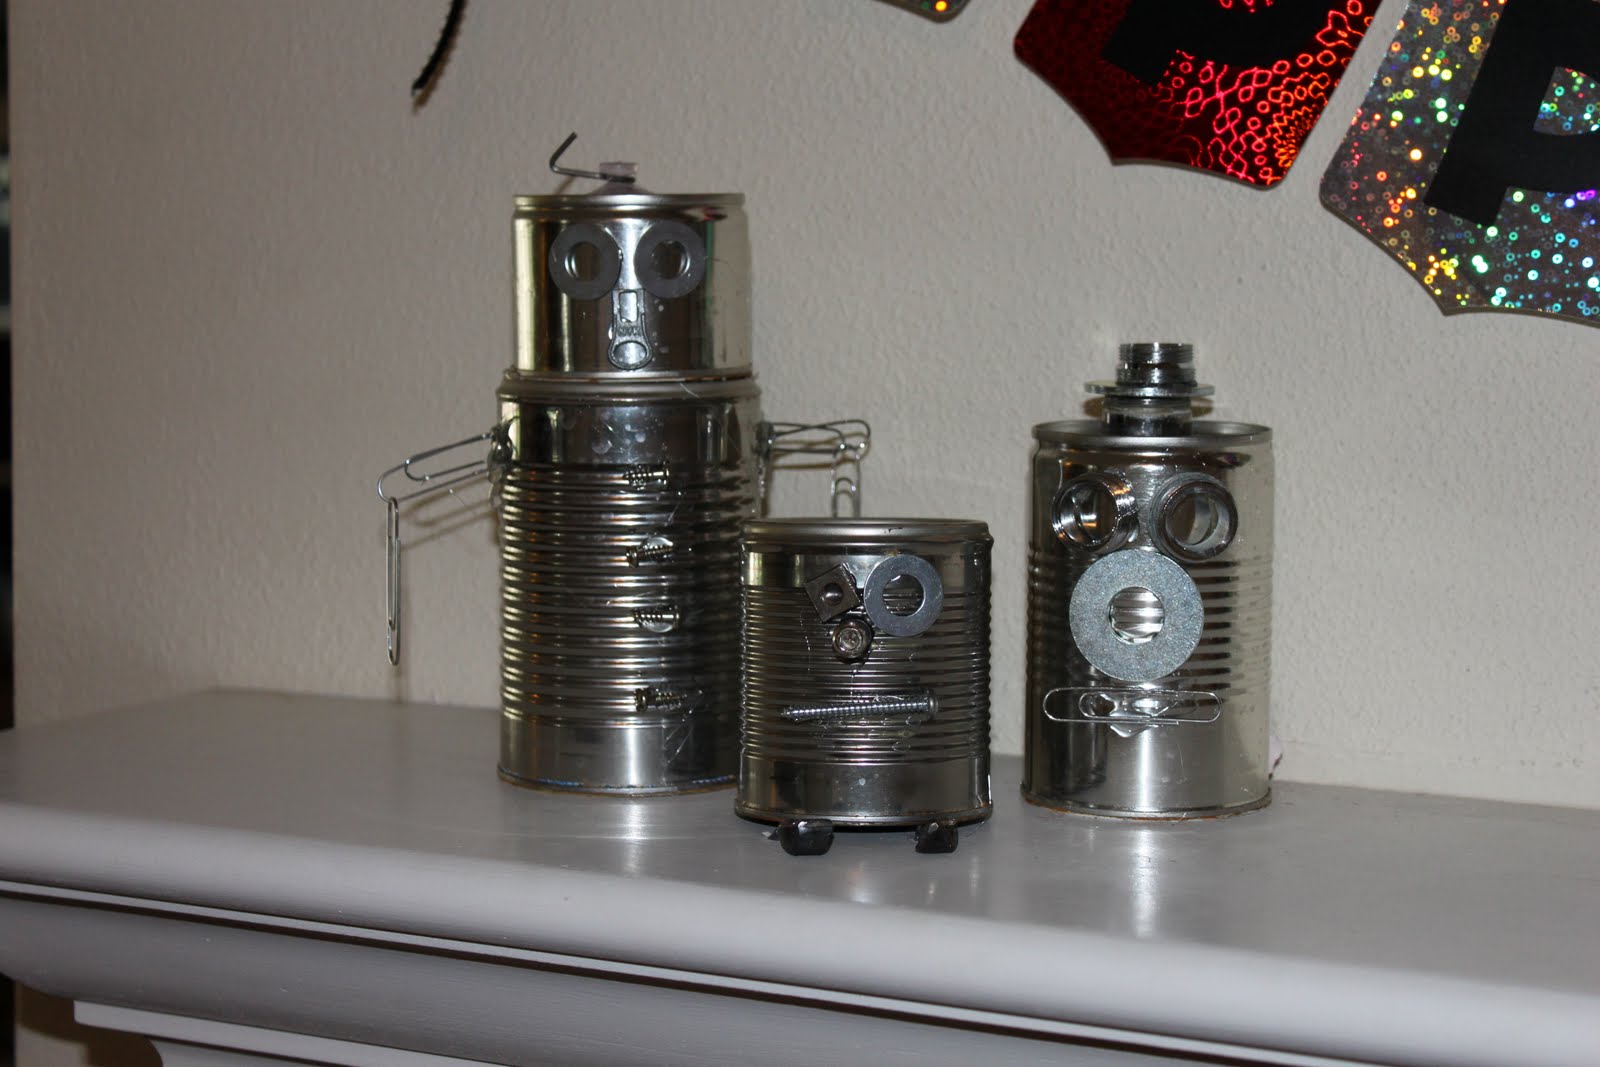
Some tin can robots

I added vinyl gears to balloons

Here is it all put together; my husband had to add his real robot.  Bytheway- the banner is made with the B is for Boy cartridge.  It's kind of hard to see everything- I had a hard time getting a good picture with all this shinny stuff!

And here is his birthday onesie I designed with PSE8.  I absolutely love how the adobe.com blog (http://www.obsidiandawn.com) has free brushes and png images you can download because I didn't have any gear images!

Not that he really cared about the decorations- pizza and cake were all he wanted, but sometimes a mom needs her outlet.